For those who don’t know, CakePHP Framework is a popular PHP development framework that allows rapid app development and faster delivery. With no complicated XML or YAML files, all you need to do is set up your database and you’re ready to start coding. If you’re looking for a PHP framework with professional support, and strong backing from trusted partners, then CakePHP is a great place to start. For more about CakePHP Framework, please check its homepage. To get started with installing CakePHP Framework, please follow the steps below:
Install Apache2 HTTP
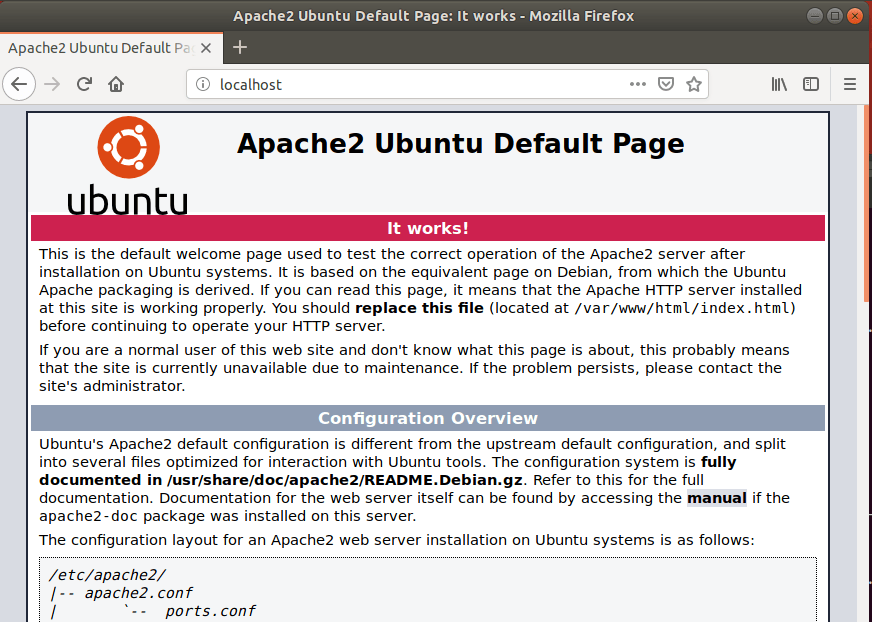
Apache2 HTTP Server is the most popular web server in use today. Since CakePHP works with a web server, go and install Apache2. To install the Apache2 HTTP server, run the commands below. After installing Apache2, the commands below can be used to stop, start and enable the Apache2 service to always start up with the server boots. To find out if the Apache2 HTTP server is installed, simply open your web browser and type in the server’s IP or hostname. http://localhost When you see a similar page as the one above, then Apache2 is installed and working.
Install MariaDB Database Server
CakePHP also needs a database server to store its content. and MariaDB database server is a great place to start when looking at open-source database servers to use with CakePHP. To install MariaDB run the commands below. After installing MariaDB, the commands below can be used to stop, start and enable the MariaDB service always to start up when the server boots. After that, run the commands below to secure the MariaDB server by creating a root password and disallowing remote root access. When prompted, answer the questions below by following the guide.
Enter current password for root (enter for none): Just press the Enter Set root password? [Y/n]: Y New password: Enter password Re-enter new password: Repeat password Remove anonymous users? [Y/n]: Y Disallow root login remotely? [Y/n]: Y Remove test database and access to it? [Y/n]: Y Reload privilege tables now? [Y/n]: Y
Restart MariaDB server To test if MariaDB is installed and working, run the commands below: That should display MariaDB’s service status.
Install PHP 7.2 and Related Modules
PHP 7.2 may not be available in Ubuntu default repositories. to install it, you will have to get it from third-party repositories. Run the commands below to add the below third party repository to upgrade to PHP 7.2 Then update and upgrade to PHP 7.2 Next, run the commands below to install PHP 7.2 and related modules. After installing PHP 7.2, run the commands below to open the PHP default config file for Apache2. Then make the changes on the following lines below in the file and save. The value below is a great setting to apply in your environment. After making the change above, save the file and close it. To test PHP settings with Apache2, create a phpinfo.php file in the Apache2 root directory by running the commands below Then type the content below and save the file. Save the file. then browse to your server hostname followed by /phpinfo.php You should see the PHP default test page. After installing PHP, you’ll want to install Composer. To do that, run the commands below: With Composer, you will be able to install the latest version of CakePHP on your machine. There are other ways to install CakePHP. However, using Composer is the easiest of them.
Create CakePHP Database
Now that you’ve installed all the packages that are required, continue below to start configuring the servers. First, create a blank database for CakePHP to use. To do that, run the commands below to log on to MariaDB. When prompted for a password, type the root password you created above. Then create a database called cakephp Create a database user called cakephpuser with a new password Next, grant the user full access to the cakephpuser database. Finally, save your changes and exit.
Install CakePHP Framework
Now that you have installed all the requirements to get CakePHP Framework going, follow the steps below: First, create a directory for your CakePHP project. After downloading CakePHP, open its default configuration file by running the commands below: Then edit the file and input the database info created above, then save. After saving, run the commands below to give www-data control of the directory. Next, restart Apache2. After that, start the server by running the commands below: After you start up the server, it should display similar lines as below: After that, open your web browser and browse to the server hostname or IP address followed by port number 8765 You should then see the CakePHP Framework default homepage similar to the one below: That’s it! You can begin setting up your environment and start building your apps. Conclusion: This post showed you how to install CakePHP Framework on Ubuntu 18.04 | 16.04. If you find any error above, please use the comment form below to report. Thanks, You may also like the post below:

